
Create your first Agent
From an installed control plane to a running Agent: set up the model provider, declare a Tool, create the Agent, then sign in and watch the first run fire.
Before you start
- A reachable control plane and a running Exo Operator (see Deploy & operate).
- The
exoCLI installed. You'll sign in at step 4, when the work moves from the cluster to the platform. kubectlaccess to the cluster. Agents are authored by applying a manifest, so creating one is a cluster-side operation. Running and connecting afterwards go through the platform, no kubeconfig needed.
1. Set up the model provider
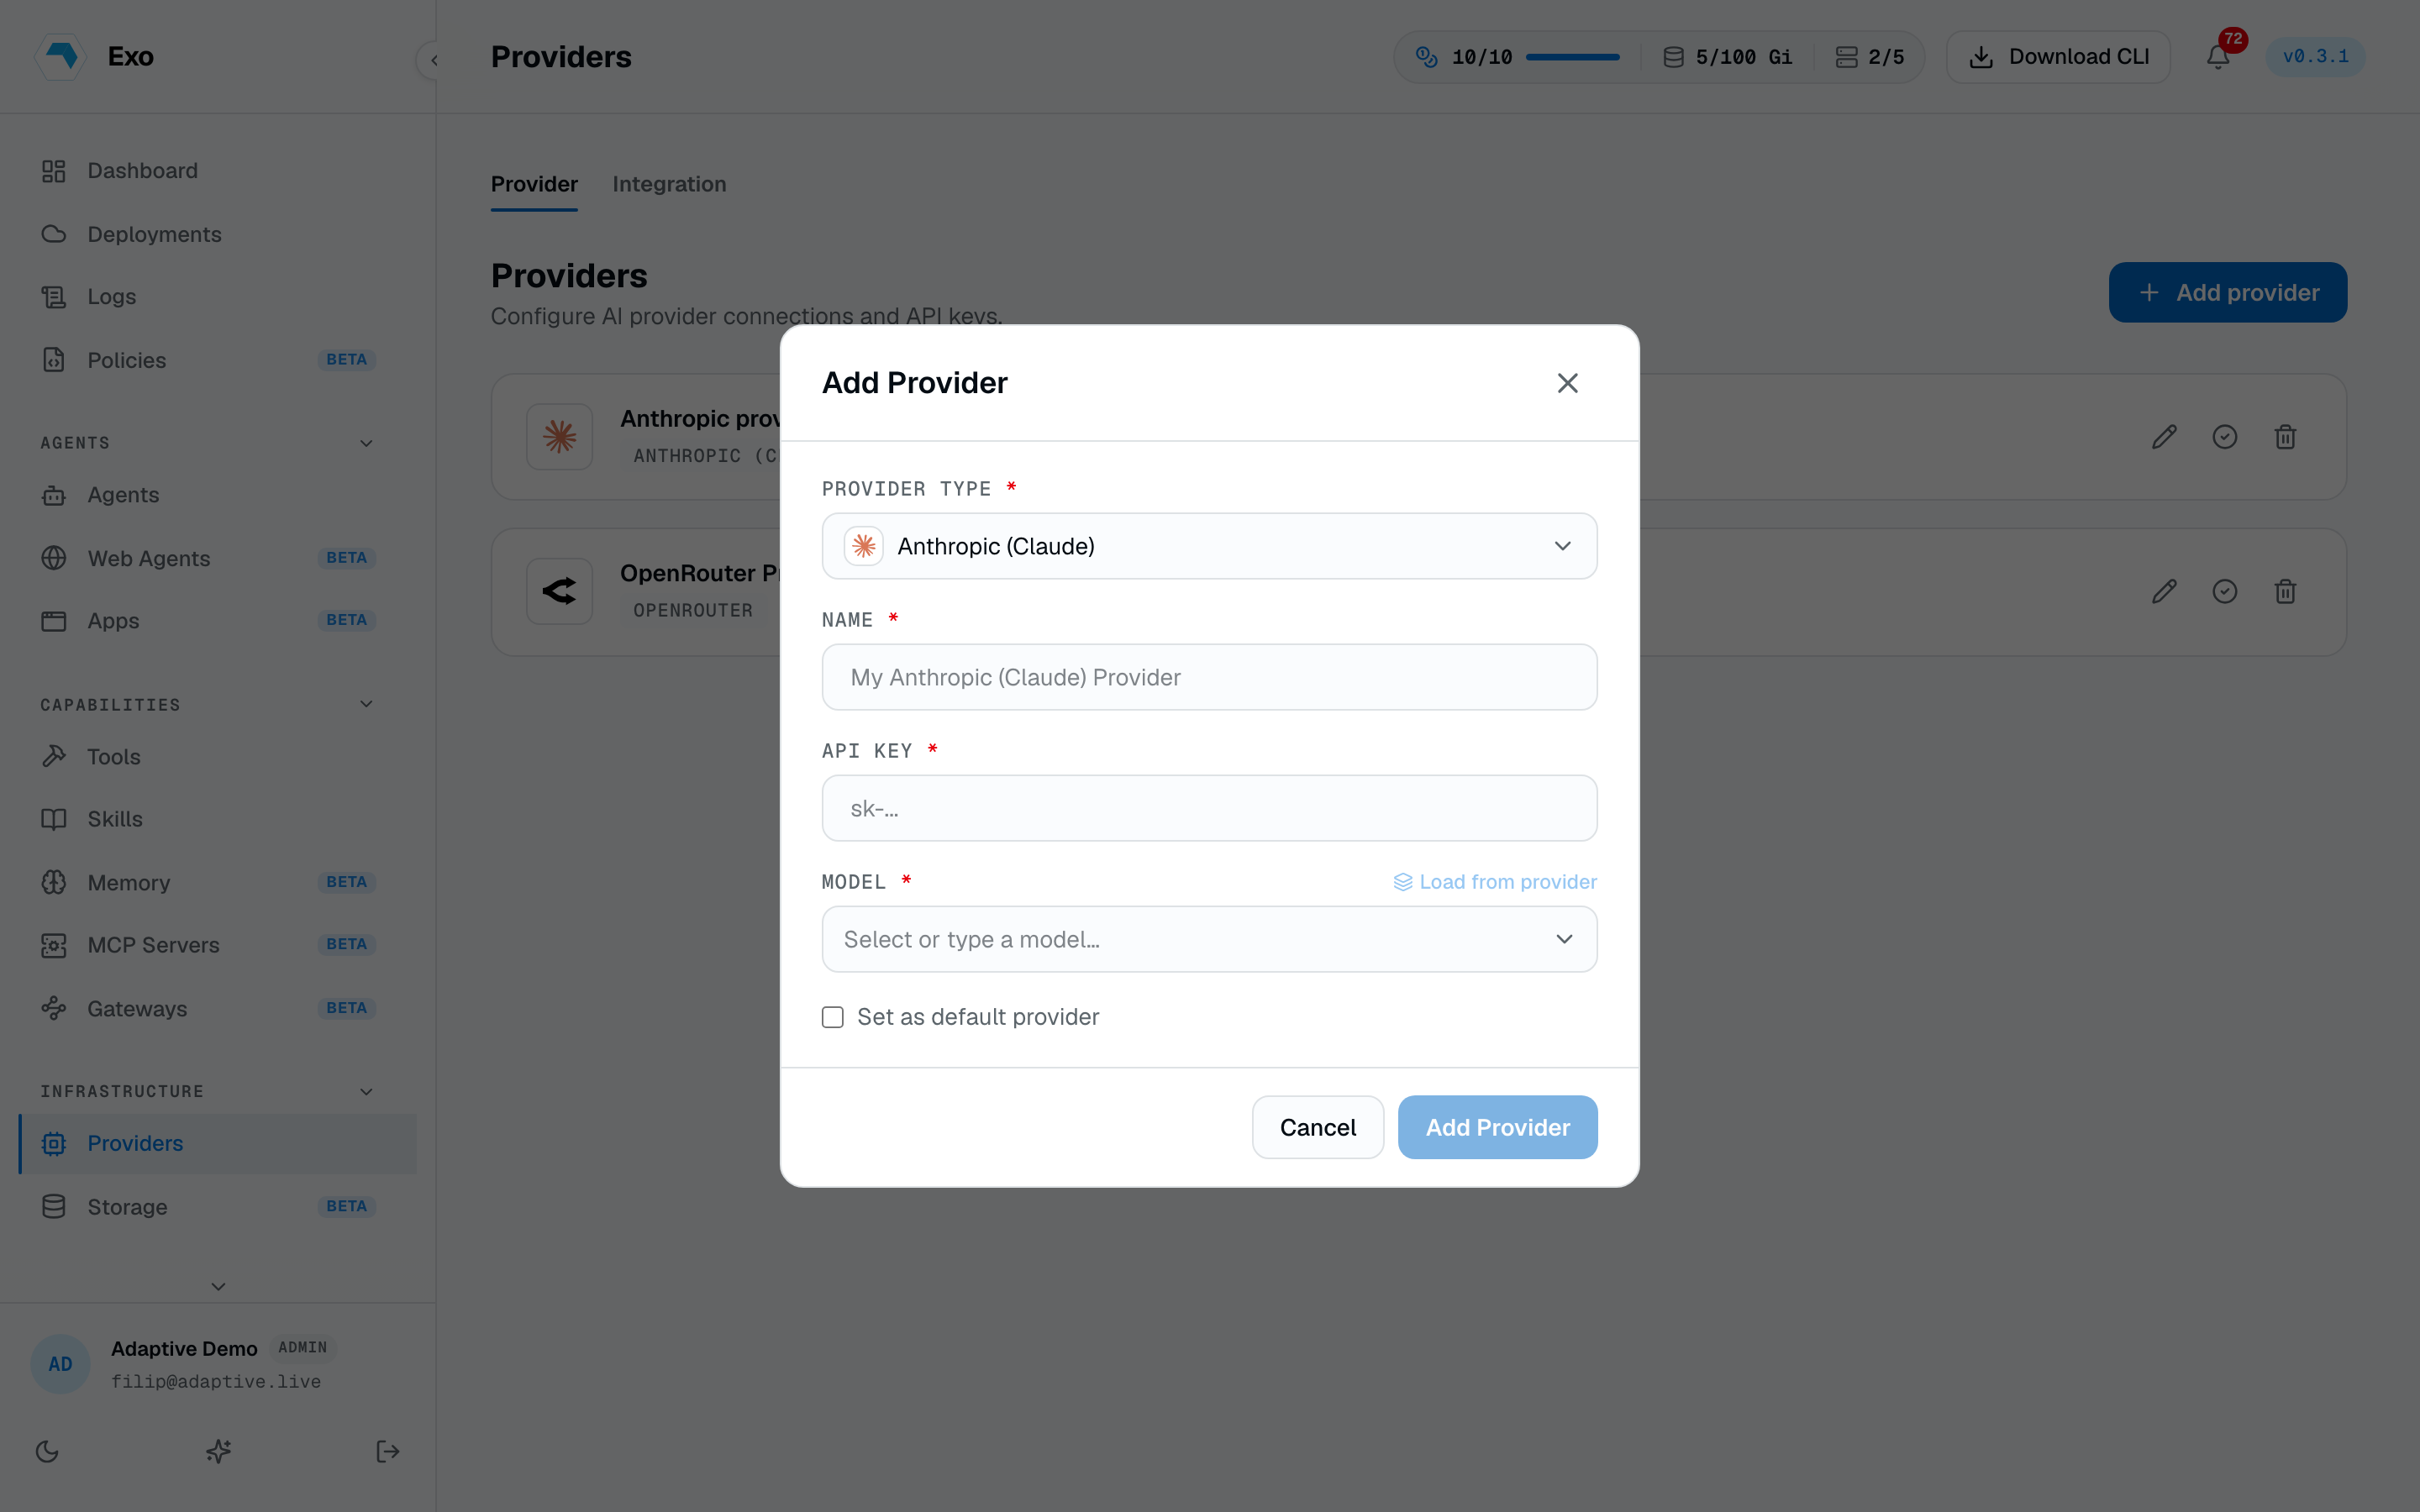
The Agent resolves its model credentials from a provider the platform holds, so configure that first. In the dashboard, go to Connect → Providers → Add provider: pick Anthropic (Claude) for the ClaudeCode runtime used here, paste the API key, and tick Set as default provider. Validate checks the key before anything is saved.
2. Create a Tool
A Tool is a managed connection (a database, SSH host, HTTP endpoint, or Kubernetes cluster). The credential lives in a Secret and never leaves the cluster. Save this as first-tool.yaml:
1apiVersion: v12kind: Secret3metadata:4 name: analytics-pg-creds5 namespace: adaptive6type: Opaque7stringData:8 password: REPLACE_ME9---10apiVersion: autonomic.sh/v1alpha111kind: Tool12metadata:13 name: analytics-postgres14 namespace: adaptive15spec:16 type: postgres17 description: "Analytics Postgres read-replica"18 tags:19 - databases20 - postgres21 - readonly22 probe: true23 config:24 hostname: pg-analytics.prod.internal25 port: 543226 username: autonomic_ro27 databaseName: analytics28 sslMode: require29 credentialsRef:30 name: analytics-pg-creds31 key: passwordApply it and wait for the probe to pass. Ready means the reconciler reached the database with the credentials you gave it:
kubectl apply -f first-tool.yaml
kubectl -n adaptive get tools
3. Create the Agent
A minimal Agent declares a runtime, a goal, a model, the managed provider its credentials come from, and the Tool it may call. Save this as first-agent.yaml:
1apiVersion: autonomic.sh/v1alpha12kind: Agent3metadata:4 name: hello-agent5 namespace: adaptive6spec:7 runtime: ClaudeCode8 phase: Paused9 goal:10 inline: |11 Connect to the analytics database and report the 5 most recent signups.12 model:13 name: claude-opus-4-714 provider: anthropic15 provider:16 type: claude17 bootstrap:18 skills:19 - analytics-postgresApply it with kubectl:
kubectl apply -f first-agent.yaml
kubectl -n adaptive get agent hello-agent
4. Log in to the platform
Everything so far went through kubectl. Running the agent goes through the platform, so this is where you sign in. Already signed in from Getting started? Skip ahead.
On managed service the endpoint defaults to https://exo.adaptive.live, so just run exo login — no --endpoint needed:
exo login
exo whoami
To point the CLI at your own control plane, pass --endpoint:
exo login --endpoint https://exo.example.com
exo whoami
5. Start the first session
List your agents to confirm it's there, then fire a session and drop into it to watch and interact with it:
exo agent list
exo agent connect production/adaptive/hello-agent
Next steps
- Add more connections and engine-native permissions with the Tool CRD.
- Read the full Agent CRD reference for every field.