
Your account
The self-service account page every user has: view your profile, mint a short-lived CLI access token, and enroll two-factor authentication. No admin rights needed.
Every user has a self-service account page at /account, reached from your name at the bottom of the sidebar. It's where you check your profile, mint a token for the CLI, and turn on two-factor authentication. None of it needs admin rights.
Profile
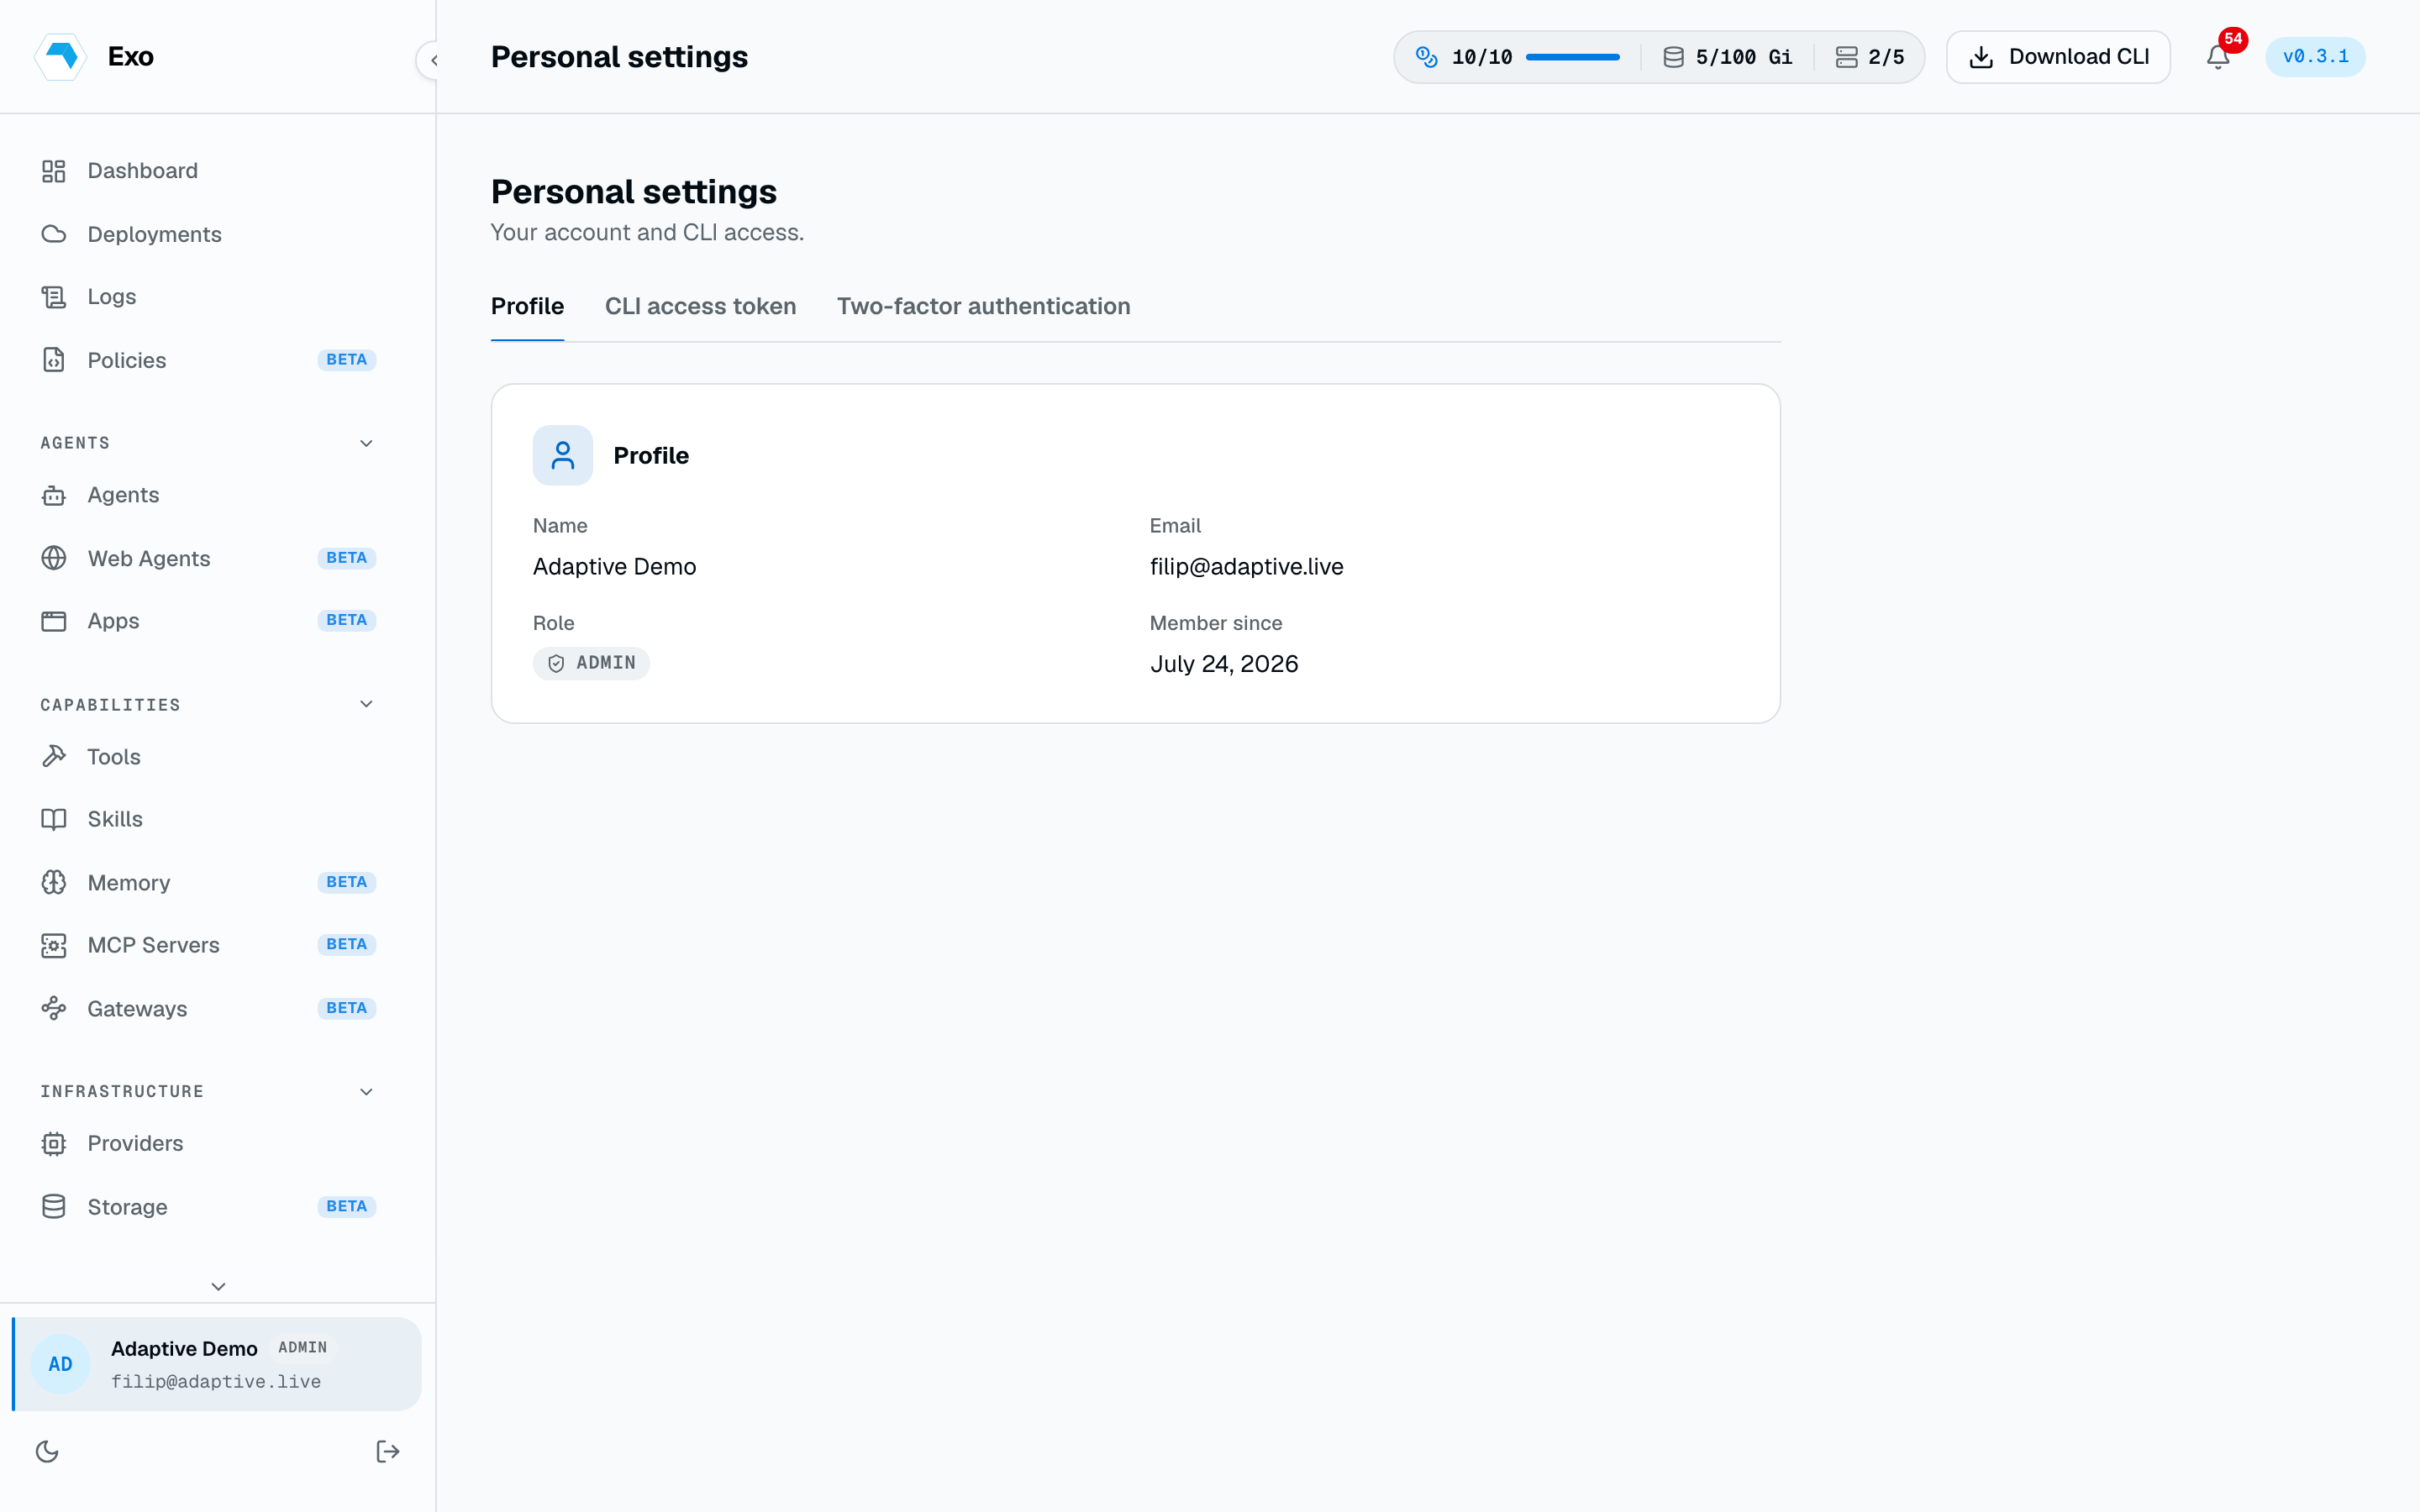
The Profile tab shows your name, email, role, and when you joined. It is read-only: membership and roles are managed by an administrator. If you belong to more than one organization, a Default organization tab also appears, where you choose which org a plain sign-in at /login lands you in.
CLI access token
To use the exo CLI or API without an interactive login, generate a personal access token. On the CLI access token tab, pick a Lifetime (your tenant's default, or 1, 8, or 24 hours), then Generate token. Copy it right away: it is not stored and won't be shown again. If you lose it, generate another.
Export it as EXO_TOKEN and the CLI picks it up:
export EXO_TOKEN=<your-token>
exo whoami
Two-factor authentication
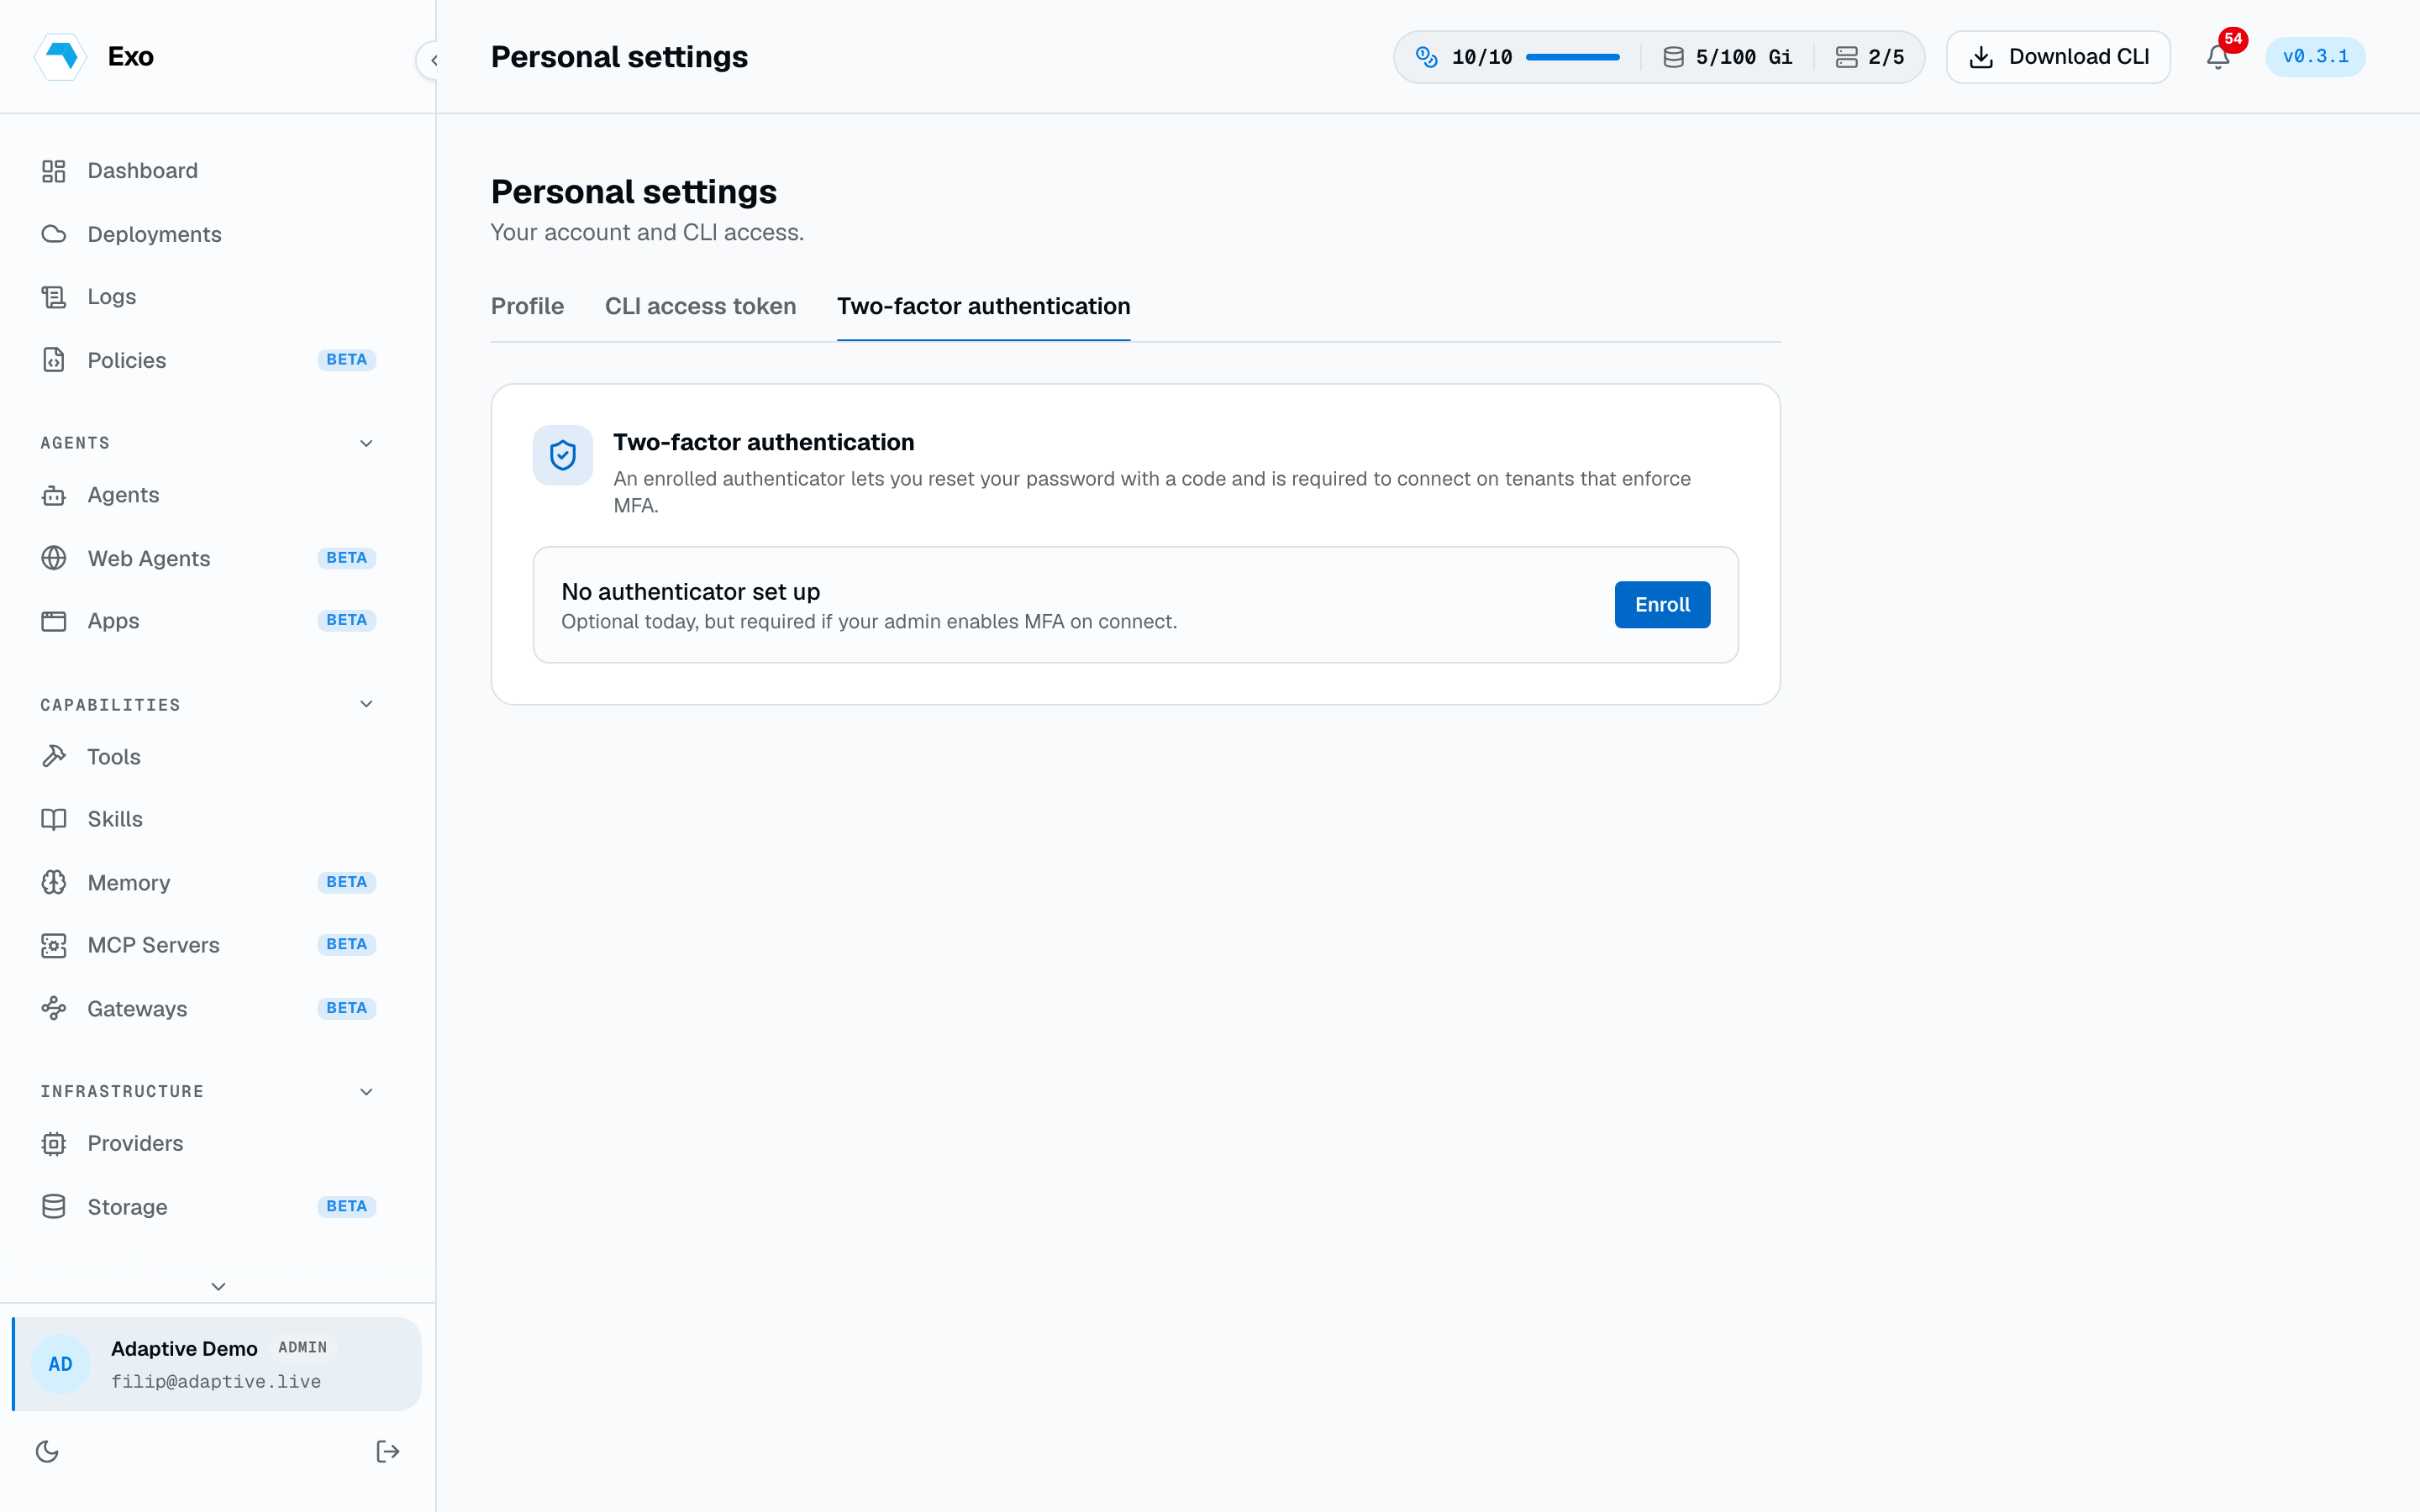
On the Two-factor authentication tab, click Enroll, then scan the QR code with your authenticator app (1Password, Authy, Google Authenticator, and the like) or paste the secret manually. Enter the 6-digit code and Verify & enable. You can Disable it again from the same tab whenever you want.
Personal vs required MFA
Enrolling on your account page is optional and personal. Separately, an administrator can require it for the whole tenant in Settings → Security with Require MFA on connect. When that is on, every user must pass a TOTP challenge before attaching to an agent shell, even with a valid session, and that step-up lasts five minutes. If your admin has turned it on, or might, enroll ahead of time so you don't get locked out of a shell.